Installation - VMWare
To deploy the collector on VMWare, first download the collector and log in to the Web Client or VCenter HTML Client.
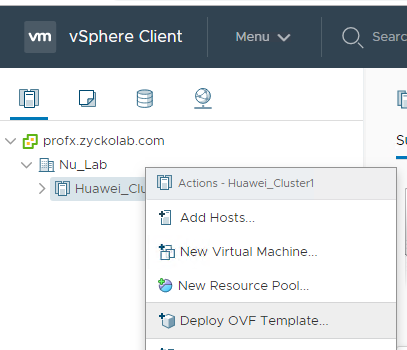
Using the VSphere Web GUI, Right click on a DataCentre, Cluster or ESX Host then click "Deploy OVF Template":
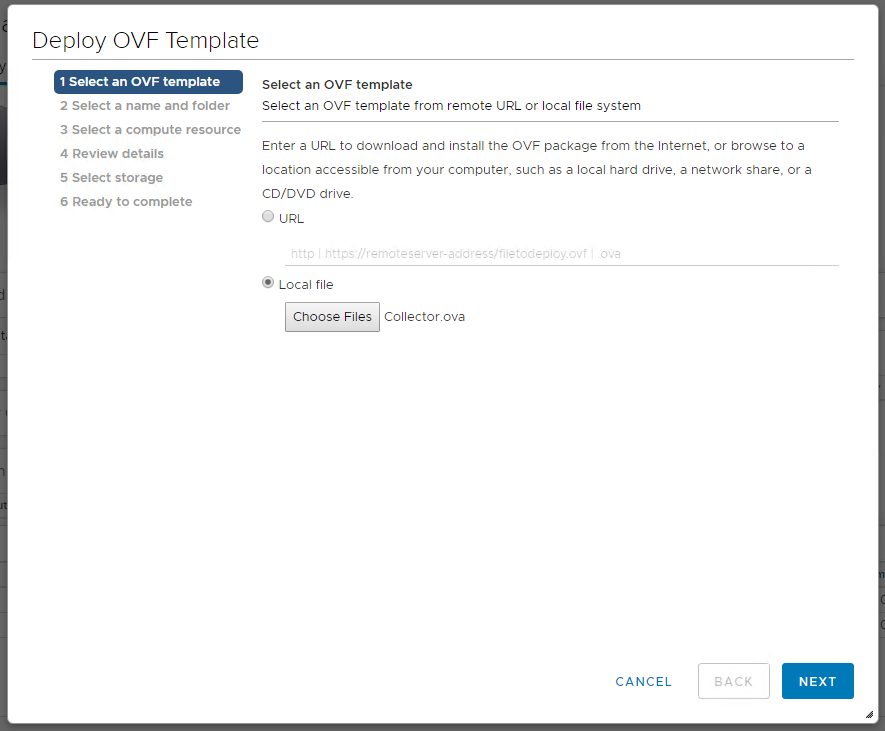
Select Local File and choose the Downloaded OVA – Press Next:
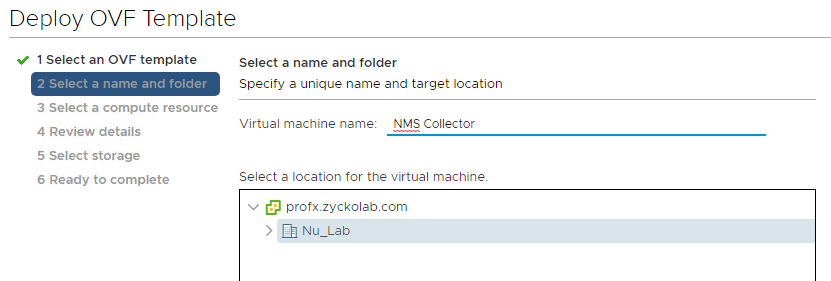
Choose a Name for the VM and select a location in your VM Infrastructure:
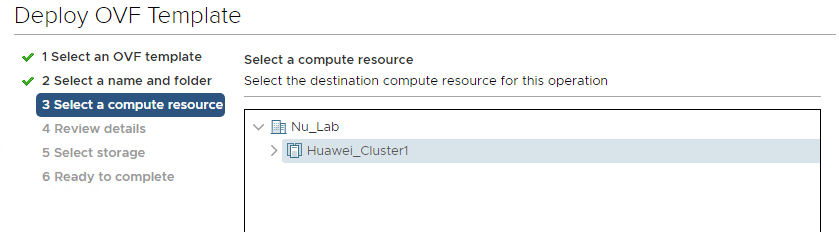
Choose a Host/Datacentre to run the VM on:
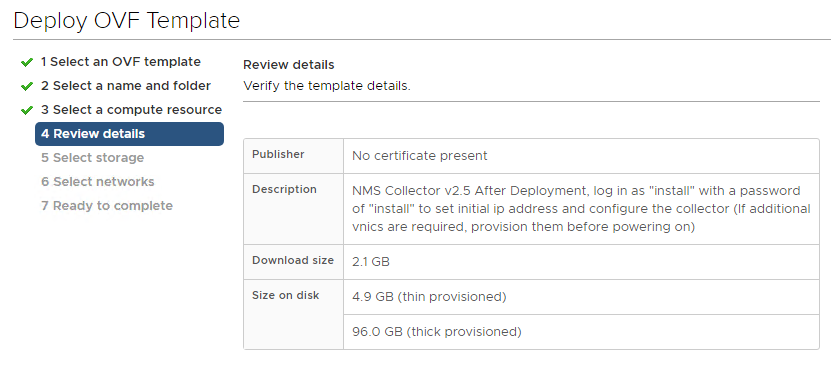
After the OVF has been validated - On the Review screen, check the details and press Next:
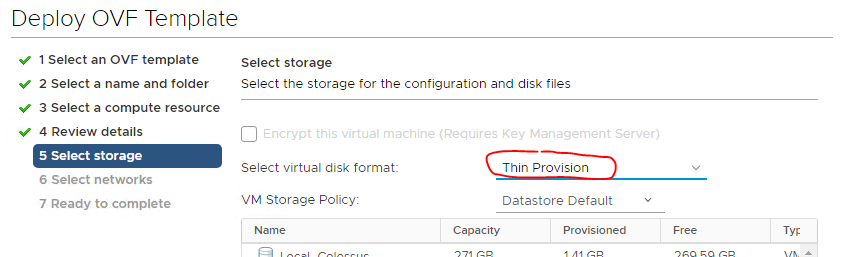
Choose a Storage system and select Thin Provisioning as the disk format:
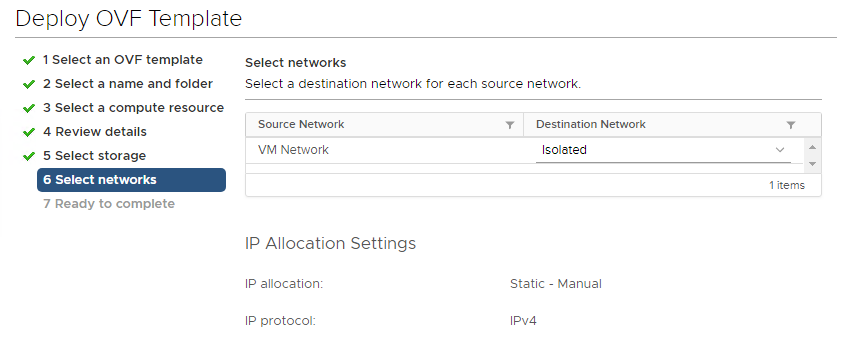
Choose the Network that the VM will run on:
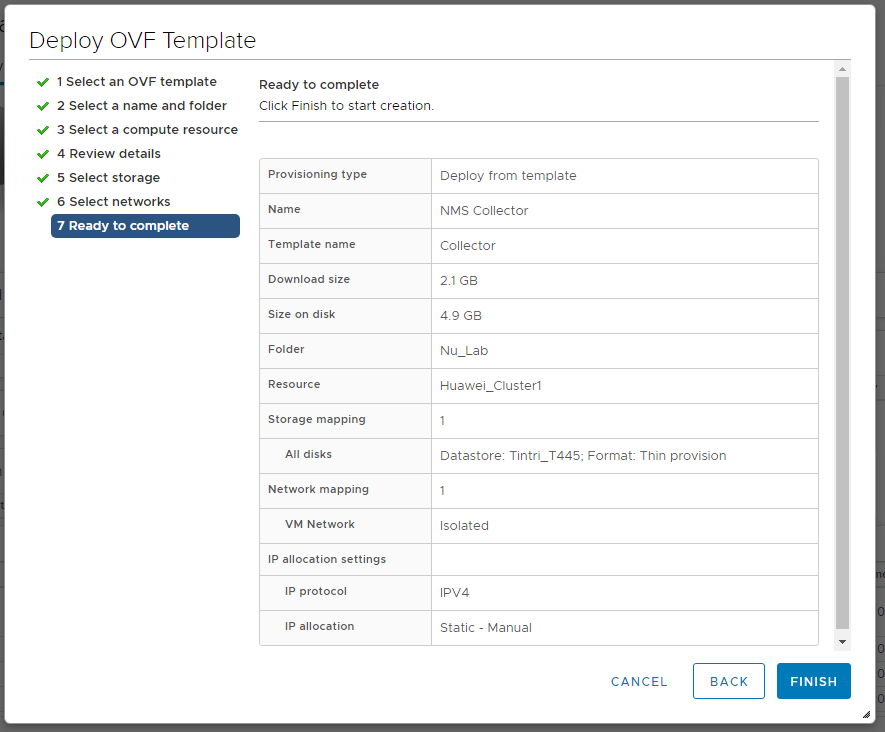
Check the Review screen and press Finish to deploy the Collector VM:
BEFORE YOU POWER UP THE COLLECTOR VM:
If you need to add a second vNIC for a management network deployment, edit the settings of the VM and add the vNIC in at this point.
Adding a NIC:
Right Click on the Deployed VM, and Choose Edit settings.
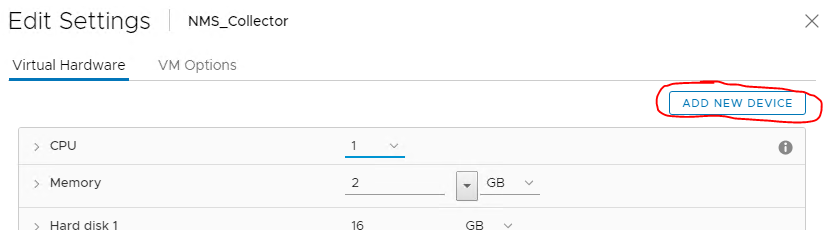
In the top right, choose Add Hardware, Choose Network Adapter:

Set the Network Adapter type to be E1000:
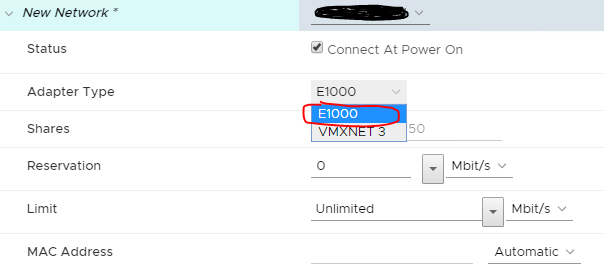
Save the settings
When you then power up the VM, it will detect the new NIC and you will be able to use the installation wizard to configure all the network cards.