Installation - HyperV
To Deploy the collector on HyperV
Download the Hyper-V image to the destination Drive, or Cluster Shared Volume.
Extract the Zip File – you will need at least 10GB of free space:

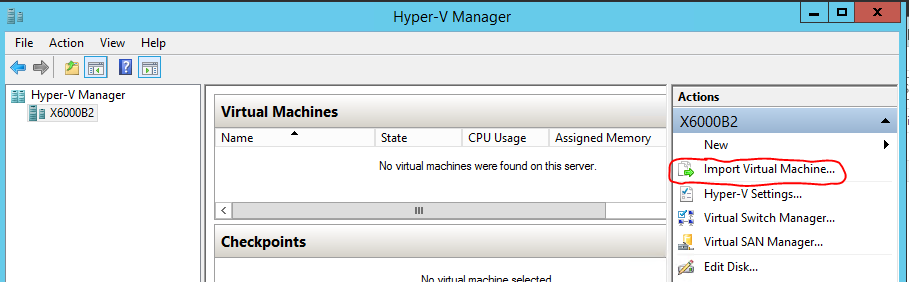
Open up Hyper-V Manager
Click on Import Virtual Machine:
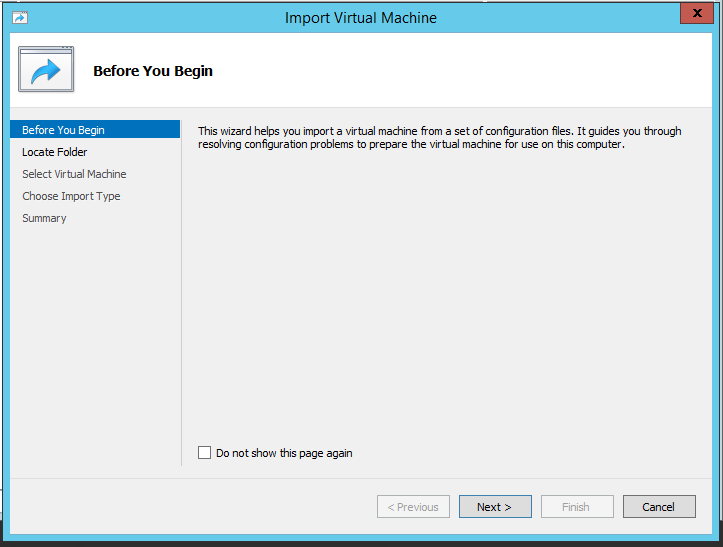
Press Next on the Wizard:
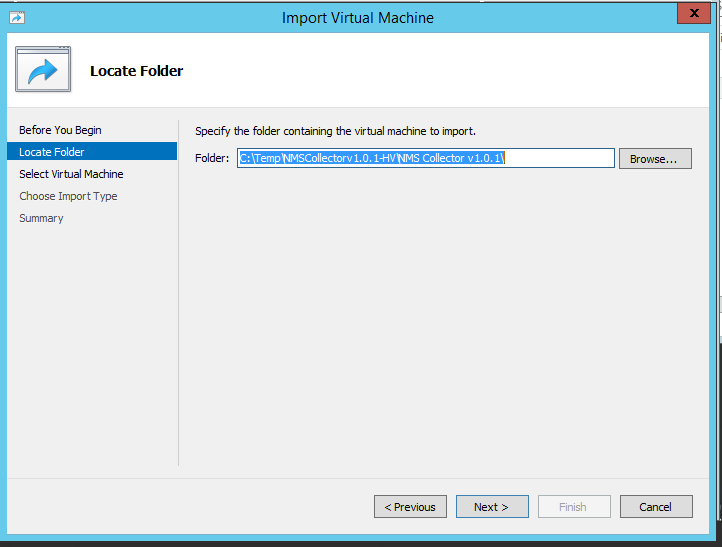
Select the Directory below the one you extracted it to:

(There should be 3 sub directories – Snapshots, Virtual Hard Disks and Virtual Machines) Press Next:
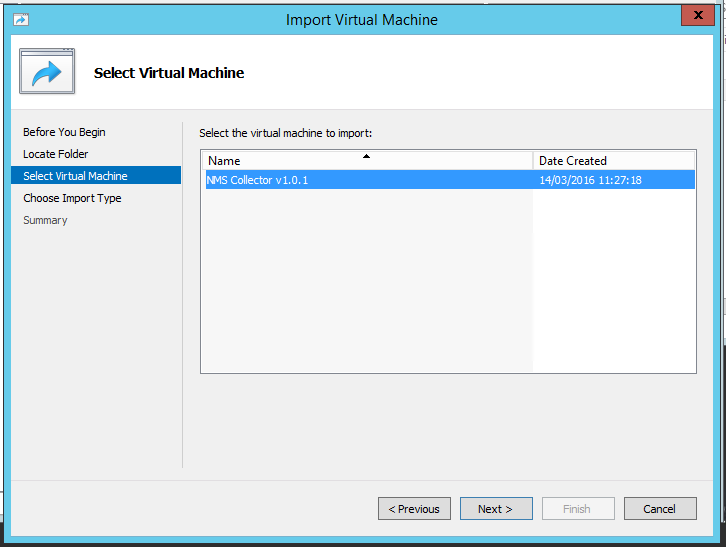
Select the NMS Collector and press Next:
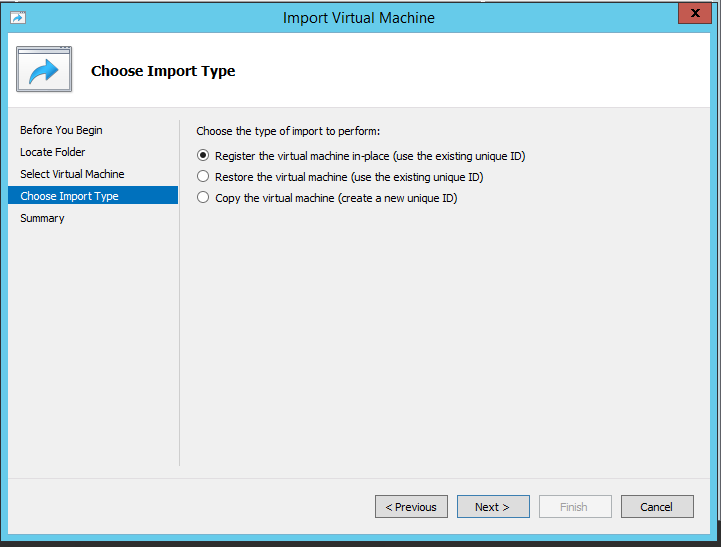
If this is the first, or only collector in the Hyper-V Estate, select “Register the virtual machine in-place”, Otherwise use “Copy the Virtual Machine”, then Press Next:
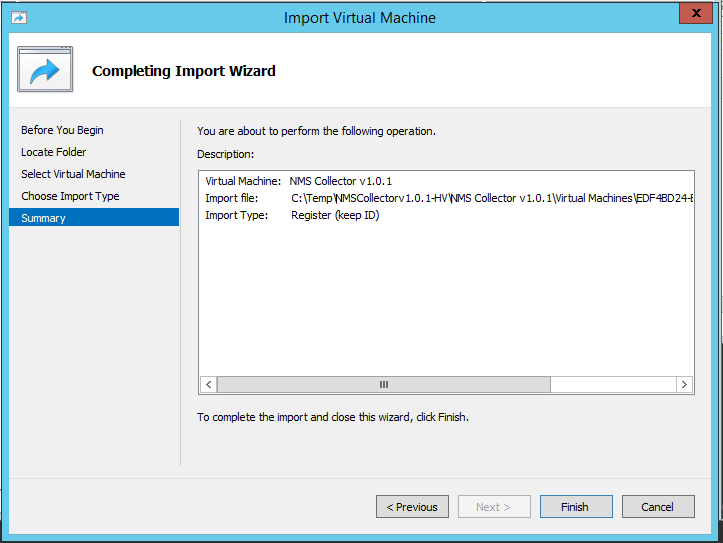
Review the Summary and Press Next:
Now configure the Virtual Hardware, right click on the VM, and choose “Settings”:

Alter the Network Adapter to bridge to the correct virtual Network:
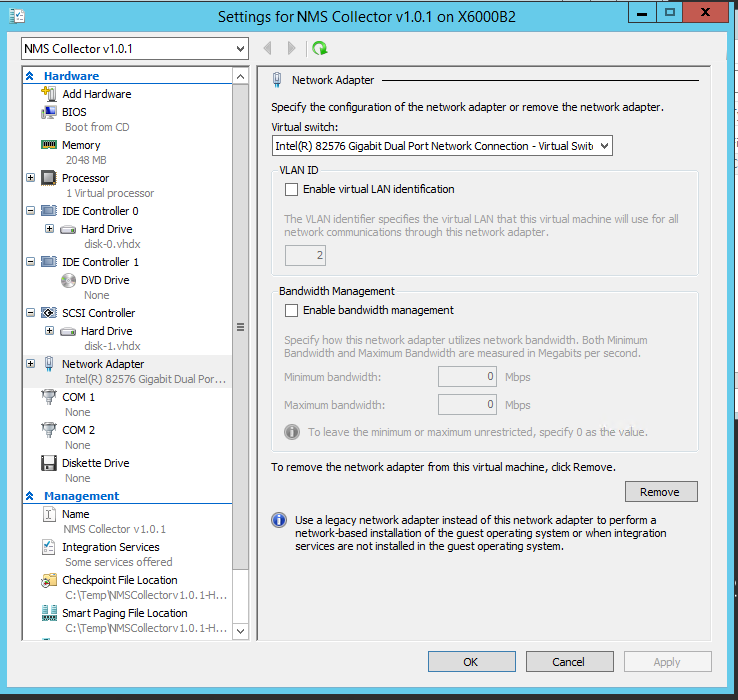
If you need to add a secondary NIC, to separate the Management Traffic from the Monitoring Traffic, do this now.
(The secondary NIC will be used for Monitoring, and will need to have static routes configured on the install wizard.)
Power on the Virtual Machine:

Connect to the console:
